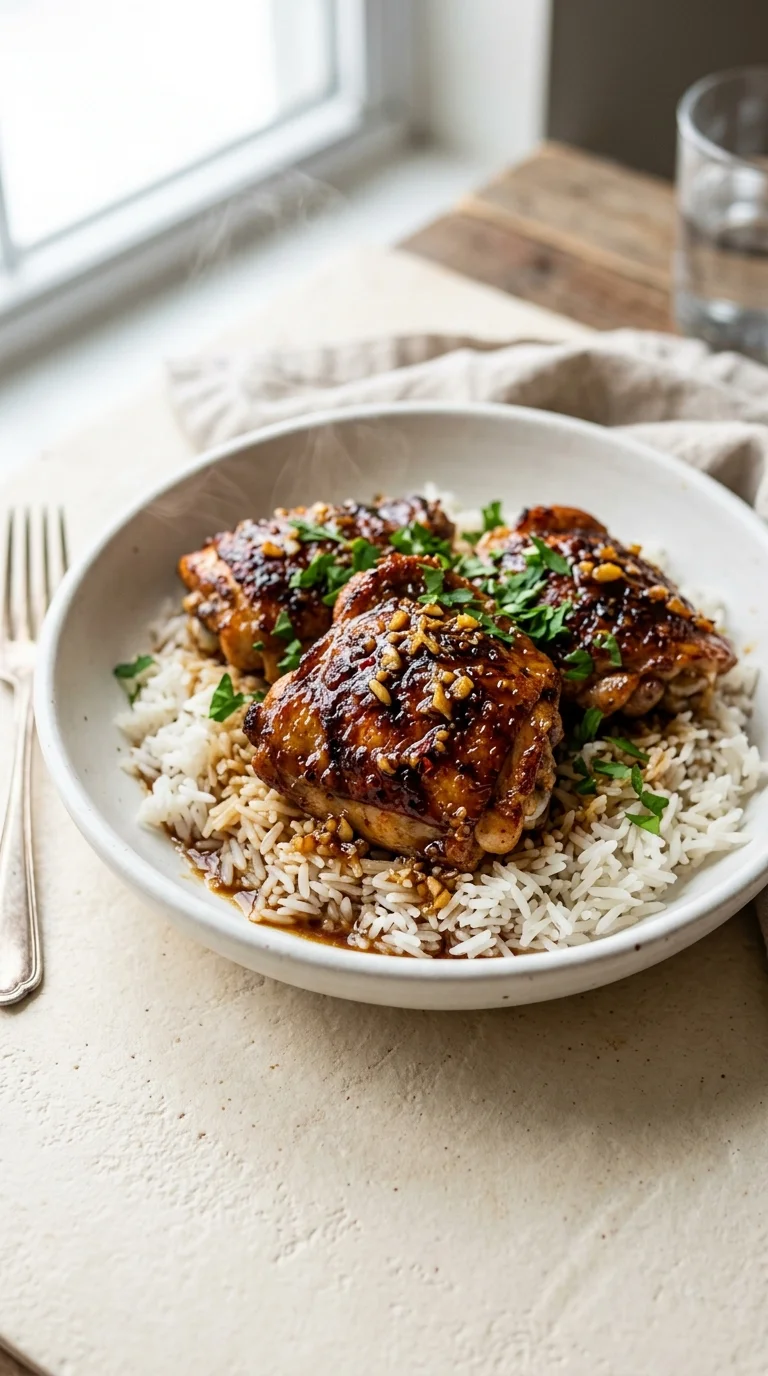
The marriage of honey and garlic is a timeless combination found in kitchens across the globe, blending the wild sweetness of nectar with the pungent depth of alliums. While this specific preparation of honey garlic chicken thighs draws inspiration from East Asian flavor profiles—utilizing soy sauce and fresh ginger—the concept of glazing meat with honey dates back to ancient times when honey was one of the few available sweeteners.
In many cultures, a sweet and savory glaze was used not only for flavor but to preserve the moisture of the meat during the cooking process. The addition of rice vinegar provides a necessary acidity, balancing the richness of the chicken fat and the sugar in the honey.
Over time, these flavors have evolved into a beloved staple of modern home cooking. The process of searing the skin to achieve a golden brown crust before roasting is a technique that bridges the gap between rustic hearth cooking and refined culinary art, creating a texture that is universally satisfying.
Why You'll Love It
-
- Honestly, there is something so comforting about the smell of honey and garlic filling the kitchen; it just feels like home.
-
- I mean, who doesn't love that sticky, glossy glaze clinging to the chicken? It's just wonderful.
-
- Well, look, it's a one-pan kind of feel that doesn't leave you with a mountain of dishes, which is just a blessing on a Tuesday night.
-
- The way the skin gets all crisp and then absorbs that sweet sauce... wow, it's just a little bit of magic every time.
"Honestly, this is the first time my kids actually asked for seconds of chicken. That glaze is just wow!"
Essential Ingredient Guide
- 6 bone-in, skin-on chicken thighs (about 900 g): I always go for the bone-in ones because they stay so much juicier in the oven. Just make sure to pat them dry, or you won't get that lovely golden crunch.
- 4 cloves garlic, minced: Fresh is the only way to go here, really. I remember when I tried the jarred stuff once—oops—and it just didn't have that warm, pungent soul.
- 2 Tbsp ketchup (optional): Now, this is optional, but it adds a tiny bit of tang and a deeper color. It's a little secret that makes the sauce feel a bit more rounded.
- 1/2 tsp crushed red pepper flakes (optional): Just a pinch for a little whisper of heat. It doesn't make it spicy, per se, but it wakes up all the other flavors.
- 1 Tbsp rice vinegar: This is what cuts through all that richness. It's a gentle acidity that keeps the honey from feeling too heavy on the palate.
- 3 Tbsp honey: The heart of the glaze. It caramelizes so beautifully in the heat, giving you that glossy, sweet finish we all crave.

Complete Cooking Process
-
Getting Everything Ready:
First things first, I get the oven humming at 400°F and make sure the chicken is bone-dry. It takes a minute, but it's the only way to get that skin just right.
-
Building the Base Flavor:
Searing the chicken in olive oil is where the magic starts. That golden-brown crust on the skin is where all the deep, savory notes live.
-
Perfecting the Texture:
Once the glaze is brushed on and the chicken hits the oven, the heat transforms everything. You're looking for that balance of a tender interior and a crisp, tacky exterior.
-
The Final Glaze:
I like to simmer the leftover sauce one last time until it's thick and syrupy. Drizzling that over the finished chicken is just the cherry on top.
-
Serving it Up:
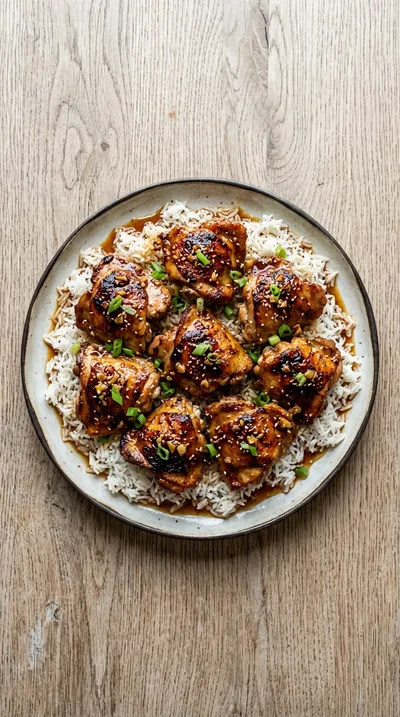
It's best to serve these immediately while the skin is still crackling. Just a sprinkle of fresh parsley, and you're all set.
-
Pat the chicken thighs dry with paper towels before seasoning for the crispiest skin possible.
-
If you have one, use a cast-iron skillet for the initial sear to get maximum browning.
-
A little extra honey added to the glaze at the very end helps it get that gorgeous, professional gloss.
-
Always use a thermometer to ensure the internal temperature reaches 165°F (74°C) so the meat is safe and juicy.
Pro Tips
You've got this, just take your time and enjoy the process.
Better For You Treats
This dish is wonderful because it's packed with protein from the chicken. If you're watching your gluten, you can simply omit the soy sauce and it's a mindful, gluten-free meal for the family.
Ways to Make it Your Own
I sometimes like a Lemon-Garlic Twist by adding the zest and juice of one lemon to the glaze. Or, for something a bit more exotic, swap the soy sauce for fish sauce and add 1 Tbsp lime juice for a Thai-inspired feel.
Serving Suggestions
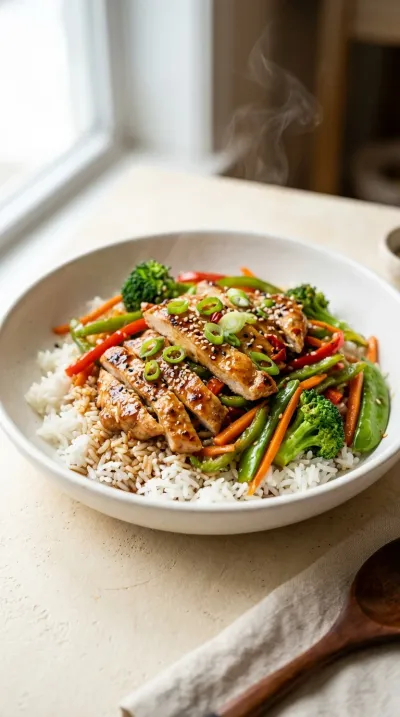
I usually serve these over a bed of steamed jasmine or basmati rice to soak up every drop of that sauce. Some sautéed green beans on the side add a lovely, fresh snap to the plate.
Frequently Asked Questions
→ Can I use boneless chicken thighs instead?
You certainly can, though they cook much faster. Just keep a close eye on them so they don't dry out, as they lack the protection of the bone.
→ What if my glaze is too thin?
No worries at all! Just let it simmer on the stove for another few minutes; it'll thicken up beautifully as the water evaporates.
→ How do I store the leftovers?
Just pop them in the fridge within 2 hours of cooking. They'll stay tasty for 3 to 4 days, and they reheat quite nicely in the oven.
Nutrition Facts
per serving
410
Calories
32g
Protein
18g
Carbs
24g
Fat
Taste Profile
A harmonious blend of sweet honey and savory garlic with a hint of ginger warmth.
Ingredient Substitutions
Don't have an ingredient? Try these alternatives
Provides a slightly more earthy sweetness.
A bit more tangy, but works well in a pinch.
A great option for those avoiding soy.
Recipe Variations
Try these delicious twists on the original
Lemon-Garlic Twist
Add the zest and juice of one lemon to the glaze for a bright, citrusy flavor that cuts through the sweetness.
Thai-Inspired Sauce
Swap soy sauce for fish sauce, add 1 Tbsp lime juice, and finish with fresh cilantro and a handful of crushed peanuts for a quick Thai take.
Common Mistakes to Avoid
Learn from others' mistakes for perfect results
- Putting wet chicken in the pan, which leads to steaming rather than searing.
- Overcooking the glaze in the saucepan until it becomes too thick or burnt.
- Skipping the internal temperature check and guessing when the chicken is done.
Meal Prep & Storage
Make Ahead Tips
You can prep the glaze and season the chicken a few hours in advance, but I'd wait to sear and bake until you're ready to eat to keep that skin crisp.
Leftover Ideas
Store in an airtight container in the fridge for 3-4 days. Reheat gently in the oven or a skillet to restore some of the skin's texture.
Perfect Pairings
Serve this with...
Cooking Timeline
Preheat oven and prep chicken (pat dry and season).
Sear chicken in the skillet and whisk together the glaze.
Brush glaze onto the chicken and place in the oven.
Bake chicken and reduce the remaining glaze on the stovetop.
Final drizzle, garnish with parsley, and serve.
 Sweet Bakes & Desserts
Butter Pecan Ice Cream Recipe
Creamy homemade butter pecan ice cream with crunchy pecans and a buttery finish.
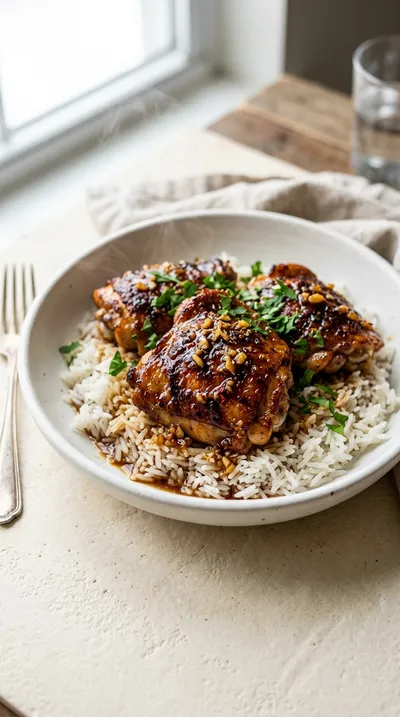
Honey Garlic Chicken Thighs
There is something so comforting about honey garlic chicken thighs glistening under the oven light. The scent of minced garlic and fresh ginger fills the kitchen, promising a meal that is both sweet and deeply savory.
Timing
Prep Time
10 Minutes
Cook Time
35 Minutes
Total Time
45 Minutes
Recipe Details
Ingredients
Main Ingredients
-
01
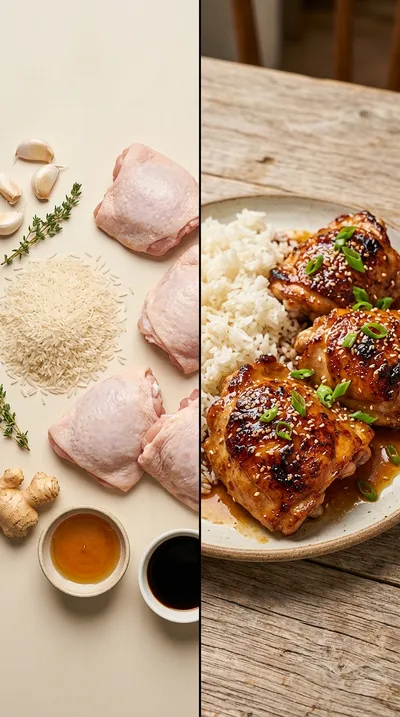
6 bone-in, skin-on chicken thighs (about 900 g)
-
02
2 Tbsp olive oil
-
03
Salt and freshly ground black pepper, to taste
Honey Garlic Glaze
-
01
3 Tbsp honey
-
02
3 Tbsp soy sauce
-
03
2 Tbsp ketchup (optional)
-
04
4 cloves garlic, minced
-
05
1 Tbsp fresh ginger, grated
-
06
1 Tbsp rice vinegar
-
07
1/2 tsp crushed red pepper flakes (optional)
-
08
2 Tbsp water
Garnish
-
01
2 Tbsp chopped fresh parsley, for garnish
Instructions
First things first, go ahead and preheat your oven to 400°F (200°C). Now, take a moment to pat the 6 bone-in, skin-on chicken thighs dry with some paper towels. I mean, it seems like a small thing, but it really makes a difference for the skin.
Season those thighs generously with salt and freshly ground black pepper on both sides. Don't be shy here; it's the foundation of the flavor.
Heat 2 Tbsp olive oil in an oven-proof skillet over medium-high heat. Carefully sear the thighs skin-side down until they're a beautiful golden brown, which usually takes about 5 minutes. Then, just flip them over and sear the other side for another 3 minutes.
Move your seared thighs into a baking dish. While you're at it, grab a small saucepan and whisk together the 3 Tbsp honey, 3 Tbsp soy sauce, 2 Tbsp ketchup (optional), 4 cloves garlic, minced, 1 Tbsp fresh ginger, grated, 1 Tbsp rice vinegar, 1/2 tsp crushed red pepper flakes (optional), and 2 Tbsp water. Let it come to a simmer and cook for 3–4 minutes until it's slightly thickened.
Now for the best part. Brush that fragrant glaze generously over the chicken in the dish, and honestly, just pour a little extra glaze over the top for good measure.
Pop them in the preheated oven for 25–30 minutes. You're looking for that internal temperature to reach 165°F (74°C) and for the skin to be perfectly crisp.
While the chicken is doing its thing in the oven, take that remaining glaze and reduce it over low heat for about 3 minutes until it's even thicker. Once the chicken is done, drizzle this final glossy glaze right over the thighs.
Finish it off with a sprinkle of 2 Tbsp chopped fresh parsley and serve it up immediately while it's hot.
Notes & Tips
-
1
The drier the chicken surface is before seasoning, the crispier your skin will be.
-
2
A cast-iron skillet is wonderful for that initial sear to get a deep browning.
-
3
Adding a touch of honey at the very end helps achieve a professional, glossy finish.
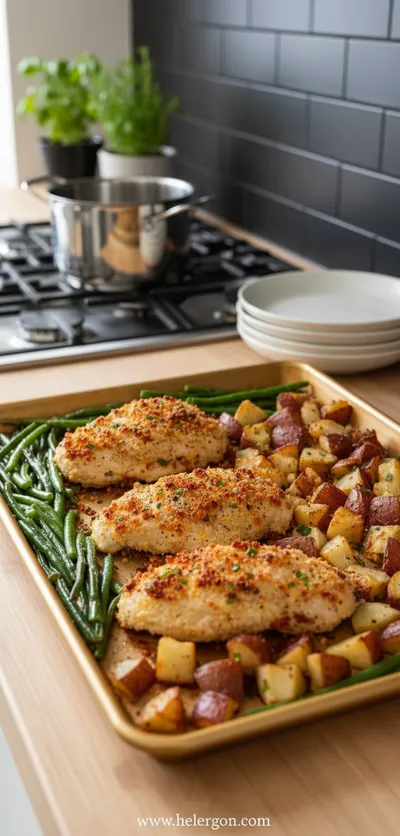 One-Pan & One-Pot Meals
Parmesan Crusted Chicken Sheet Pan Dinner
One‑pan Parmesan chicken with golden crust and roasted veggies, ready in under an hour.
Tools You'll Need
-
Oven-proof skillet or baking sheet for searing and roasting
-
Small saucepan to simmer the glaze
-
Whisk for blending the sauce
-
Tongs for flipping the chicken
-
Measuring spoons for accuracy
-
Aluminum foil for easy cleanup
-
Thermometer to ensure chicken is safe to eat
Must-Know Tips
-
Dry the chicken, Use paper towels to remove moisture for maximum crispiness.
-
Use Cast-Iron, A cast-iron skillet provides the best heat distribution for browning.
-
Final Glaze, Reduce the leftover sauce to a syrup to create a beautiful lacquer.
Professional Secrets
-
Searing the skin first locks in the juices and provides a textural contrast to the sweet glaze.
-
Using a combination of rice vinegar and soy sauce creates a balanced umami profile.
-
Reducing the glaze twice—once before baking and once after—concentrates the flavor.
What readers are saying
Community reviews from home cooks like you
The flavors were spot on. I really liked how the 6 bone-in, skin-on chicken thighs (about 900 g) and 2 Tbsp olive oil came together. I added a bit more seasoning next time. Already shared it with a friend.
This exceeded my expectations. I really liked how the 6 bone-in, skin-on chicken thighs (about 900 g) and 2 Tbsp olive oil came together. Thanks for sharing this one!
The flavors were spot on. I really liked how the 6 bone-in, skin-on chicken thighs (about 900 g) and 2 Tbsp olive oil came together. Already shared it with a friend.
Will definitely make this again. I really liked how the 6 bone-in, skin-on chicken thighs (about 900 g) and 2 Tbsp olive oil came together. It took slightly longer than the recipe said. Saving this for later.
Will definitely make this again. I really liked how the 6 bone-in, skin-on chicken thighs (about 900 g) and 2 Tbsp olive oil came together. Highly recommend giving it a try.
So easy and delicious. I really liked how the 6 bone-in, skin-on chicken thighs (about 900 g) and 2 Tbsp olive oil came together. Perfect as written.
This was a hit with my family. I really liked how the 6 bone-in, skin-on chicken thighs (about 900 g) and 2 Tbsp olive oil came together. Perfect as written.
This exceeded my expectations. I really liked how the 6 bone-in, skin-on chicken thighs (about 900 g) and 2 Tbsp olive oil came together. My oven needed an extra 5 minutes. Great addition to my recipe rotation.
I wanted to love this dish, but it didn't quite work for me. It took slightly longer than the recipe said. I think with some tweaks it could be really good.
I was surprised how good this turned out. I really liked how the 6 bone-in, skin-on chicken thighs (about 900 g) and 2 Tbsp olive oil came together. My kids even asked for seconds.
The flavors were spot on. I really liked how the 6 bone-in, skin-on chicken thighs (about 900 g) and 2 Tbsp olive oil came together. The texture was a touch off, but the flavor saved it. Highly recommend giving it a try.
My new favorite way to make Honey Garlic Chicken Thighs. I really liked how the 6 bone-in, skin-on chicken thighs (about 900 g) and 2 Tbsp olive oil came together. Highly recommend giving it a try.
Absolutely loved this recipe! I really liked how the 6 bone-in, skin-on chicken thighs (about 900 g) and 2 Tbsp olive oil came together. Already shared it with a friend.

Get Delicious Recipes Weekly
Join 25,000+ home cooks getting our best recipes straight to their inbox.
Free forever • No spam • Unsubscribe anytime