
Chocolate has traveled from ancient Mesoamerican beans to modern freezer trays, becoming a symbol of comfort worldwide. In the 19th century, ice cream parlors introduced layered desserts to delight the eyes as much as the palate. This idea of dual flavors, though simple, carries a legacy of elegance. The concept of serving ice cream in glassware emerged in European salons, where presentation mattered as much as taste. Today, we honor that tradition with our duo of chocolate ice creams, each offering its own texture and nuance.
Why You'll Love It
-
- Two contrasting chocolate textures
-
- Simple ingredients, elegant presentation
-
- Quick to assemble for any day
-
- Perfect for sharing or solo indulgence
"The layers melt together like a soft memory—delicious and unforgettable."
Essential Ingredient Guide
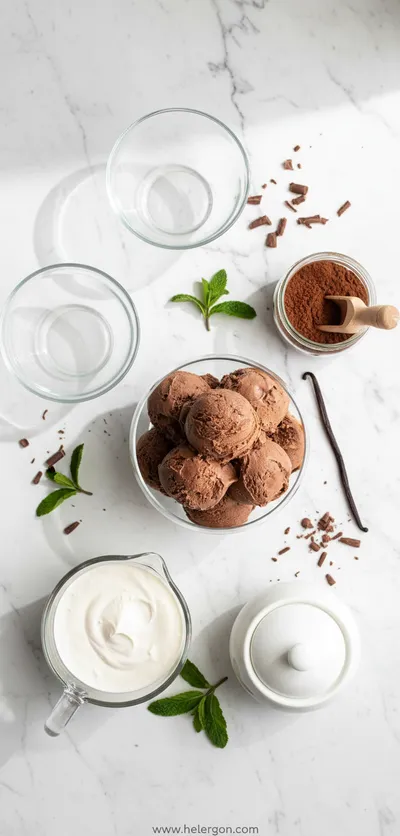
- Dark chocolate ice cream: Choose a high‑cocoa content brand for depth; its richness anchors the dessert.
- Milk chocolate ice cream: A sweeter, creamier counterpart that balances the dark layer.
- Chocolate shavings: Adds texture and a visual finish; use a microplane for fine curls.
- Sea salt flakes: A pinch on top heightens flavor without overwhelming.
- Fresh mint leaf: Optional garnish that brightens the aroma.
- Honey drizzle: A tiny drizzle adds a subtle shine and sweet note.
Complete Cooking Process
-
Ingredient Readiness:
Allow both ice creams to soften just enough for easy scooping; this ensures clean layers.
-
Flavor Development:
Layer the dark chocolate first, letting its boldness settle before adding the milder milk chocolate.
-
Texture Control:
Gently press shavings into the surface so they adhere without melting.
-
Finishing Touches:
Scatter sea salt flakes and a mint leaf, then drizzle honey for a glossy finish.
-
Serving Timing:
Serve immediately or let sit a minute for the flavors to meld just right.
-
Use chilled glasses to keep ice cream firm longer
-
Scoop with a warm spoon to avoid cracking the ice cream
-
Layer slowly to keep distinct lines between chocolates
-
Store leftovers in airtight containers to prevent ice crystals
Pro Tips
I’ve found that a cold glass does more than keep the dessert cool—it adds a subtle click when you sip the last bit. And when you’re ready to enjoy the leftovers, a quick stir brings the layers back together, like a gentle reunion of flavors.

The essence of the dish:
It’s the gentle contrast of bitter dark chocolate and sweet milk chocolate, each echoing a memory of comfort and celebration.
A fun fact or historical angle:
The first documented chocolate ice cream appeared in the 17th‑century French courts, where it was served in crystal goblets.
Flavor or sensory focus:
You’ll notice the velvety coolness first, then the subtle crunch of shavings, followed by a whisper of sea salt that brightens the cocoa.
You Must Know
-
Use full‑fat ice cream for creaminess
-
Don’t over‑mix the layers
-
Add garnish just before serving
Frequently Asked Questions
→ Can I use dairy‑free ice cream?
Absolutely—coconut or almond‑based chocolate ice creams work well, just keep the layers even.
→ How long can I store the glasses?
Cover tightly and refrigerate up to 24 hours; the garnish is best added fresh.
→ What if I don’t have chocolate shavings?
A sprinkle of cocoa powder or crushed chocolate cookies adds similar texture.
→ Can I add fruit?
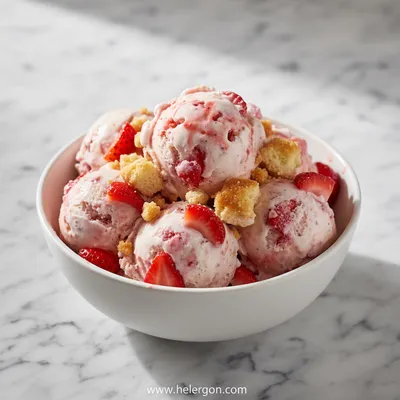
Raspberry coulis or sliced strawberries provide a bright contrast without overpowering chocolate.
→ Is this dessert suitable for a party?
Yes—prepare the glasses ahead, add garnish at the last minute, and serve on a tray.
→ What glass size works best?
A small dessert glass (about 6‑oz) keeps portions modest and elegant.
Nutrition Facts
per serving
250
Calories
4g
Protein
28g
Carbs
14g
Fat
Taste Profile
Rich and balanced chocolate indulgence
Ingredient Substitutions
Don't have an ingredient? Try these alternatives
Ensure the substitute has a similar cocoa intensity.
Provides a nutty undertone; adjust sweetness if needed.
Recipe Variations
Try these delicious twists on the original
Spicy Version
Add a pinch of cayenne and swirl in a dash of chocolate chili sauce between layers.
Mediterranean Style
Top with a sprinkle of toasted almonds and a drizzle of olive‑infused honey.
Common Mistakes to Avoid
Learn from others' mistakes for perfect results
- Over‑mixing layers, causing them to blend together
- Using warm glasses, which melt ice cream too quickly
- Adding too much honey, which can overpower chocolate
Meal Prep & Storage
Make Ahead Tips
You can soften the ice creams a day ahead, keep them covered, and assemble the glasses just before serving.
Leftover Ideas
Gently stir leftover glasses to re‑blend layers; serve within a day for best texture.
Perfect Pairings
Serve this with...
Cooking Timeline
Chill glasses and soften ice creams.
Scoop dark chocolate layer into each glass.
Add milk chocolate layer, smooth with warm spoon.
Garnish with shavings, salt, mint, and honey drizzle.
 Sweet Bakes & Desserts
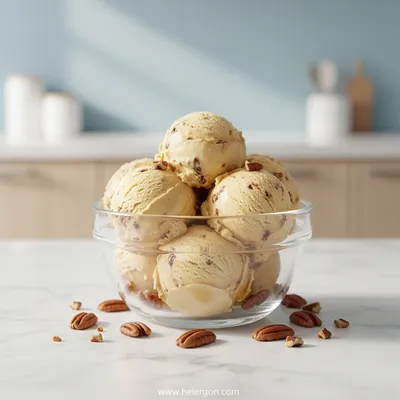
Butter Pecan Ice Cream Recipe
Creamy homemade butter pecan ice cream with crunchy pecans and a buttery finish.
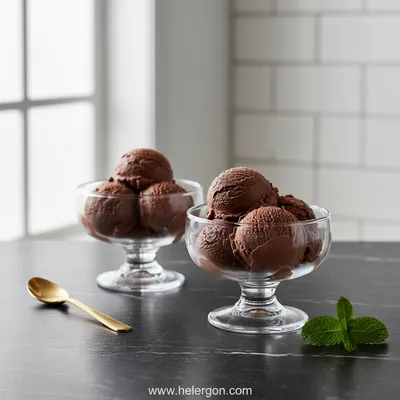
Duo of Chocolate Ice Cream Glasses
A silky, double‑layered chocolate ice cream served in elegant glasses – perfect for a quick indulgence that feels both simple and special.
Timing
Prep Time
10 Minutes
Cook Time
0 Minutes
Total Time
10 Minutes
Recipe Details
Ingredients
Main Ingredients
-
01
2 cups dark chocolate ice cream, softened
-
02
2 cups milk chocolate ice cream, softened
-
03
2 tbsp chocolate shavings
-
04
1 pinch sea salt flakes
-
05
4 fresh mint leaves (optional)
-
06
1 tbsp honey
Instructions
Place chilled glasses on a tray; this helps keep the ice cream firm.
Scoop dark chocolate ice cream into each glass, filling halfway. I remember doing this slowly, feeling the cold cream settle.
Top with a smooth layer of milk chocolate ice cream, pressing lightly with a warm spoon to keep the layers distinct.
Garnish with chocolate shavings, a pinch of sea salt, a mint leaf, and a light honey drizzle. If you enjoy brownie notes, the shavings add that subtle crunch.
Notes & Tips
-
1
Serve immediately for the best texture.
-
2
If using a frozen dessert, let it soften for 5 minutes before scooping.
-
3
A quick stir before serving reunites the layers beautifully.
Tools You'll Need
-
Dessert glasses
-
Ice cream scoop
-
Warm spoon
-
Microplane for shavings
Must-Know Tips
-
Don’t over‑mix the layers – keep them distinct.
-
Use a chilled spoon to avoid melting the ice cream.
-
Taste as you go, especially the salt balance.
Professional Secrets
-
Softening ice cream slightly at room temperature ensures smooth layers.
-
A quick chill of the glasses locks in temperature longer.
-
Adding a tiny pinch of sea salt amplifies chocolate flavor.

Get Delicious Recipes Weekly
Join 25,000+ home cooks getting our best recipes straight to their inbox.
Free forever • No spam • Unsubscribe anytime