The marriage of cheesecake and the iconic sandwich cookie is a modern American classic, born from a desire to blend traditional European cream cakes with the bold, nostalgic flavors of childhood snacks. While cheesecake itself dates back to ancient Greece, the 'no-bake' variety gained popularity as home cooks looked for lighter, airier textures that didn't require the precision of a water bath.
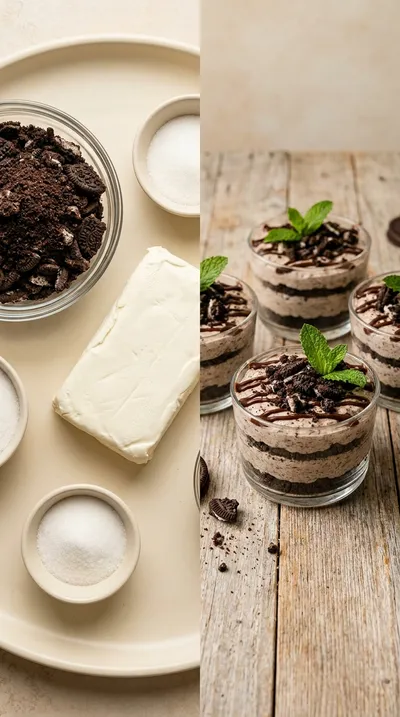
Oreo no-bake cheesecake cups represent a shift toward individual portions, reflecting a move away from the heavy, monolithic cakes of the mid-century. This style of dessert emphasizes the contrast between the dense, cocoa-rich crust and the whipped, sweetened cream, creating a balanced sensory experience.
Culturally, these treats have become synonymous with effortless gathering. They are the kind of desserts that appear at potlucks and summer picnics, bridging the gap between a casual snack and a formal dessert. The simplicity of the ingredients allows the deep chocolate notes to remain the star of the show.
Why You'll Love It
-
- Honestly, there is something so nostalgic about those crushed Oreos, and since there is no oven involved, it is just a breeze to put together.
-
- I mean, who doesn't love a dessert that feels fancy but is actually just a few simple steps? The creamy texture is just wonderful.
-
- Look, these little cups are the perfect size for when you want a sweet treat without making a giant cake for the whole neighborhood.
-
- Well, the way the cold heavy cream lightens up the richness of the cream cheese... wow, it's just a little slice of heaven in a liner.
"Honestly, these are the only desserts my grandkids ask for now. So creamy and just the right amount of sweet!"
Essential Ingredient Guide
- 8 ounces (226g) cream cheese, softened to room temperature: This is the heart of the filling, so make sure it's truly soft. I remember once having lumps because I rushed it—ugh, just let it sit out for a bit so it blends smooth.
- 1 cup (240ml) heavy cream, cold: Keep this nice and chilly until the very last second. When you whip it to stiff peaks, it gives the cheesecake that airy, cloud-like feel we all love.
- Chocolate Syrup, for drizzling (optional): This is just a little bit of extra magic for the top. It adds a lovely glossy look and a punch of chocolate that makes the whole thing feel like it came from a bakery.
- 1 teaspoon vanilla extract: Just a tiny splash, but it rounds everything out. It adds that warm, aromatic sweetness that ties the cookies and cream together so perfectly.
- 6 tablespoons (85g) unsalted butter, melted: Melt this gently so it can soak right into those crumbs. It's what holds the crust together, so you don't have your dessert crumbling away on the plate.
- 1 cup (200g) granulated sugar: This provides the sweetness we need to balance the tang of the cheese. I find beating it in gradually helps it incorporate without any grainy bits.
Complete Cooking Process
-
Ingredient Readiness:
The most important part is getting that 8 ounces (226g) cream cheese, softened to room temperature. You'll also want your 1 cup (240ml) heavy cream kept very cold so it whips up beautifully.
-
Flavor Development:
The magic happens when you beat the granulated sugar and 1 teaspoon vanilla extract into the cream cheese. It creates a rich, sweet base that tastes even better after it rests in the fridge.
-
Texture Control:
Gently folding the whipped cream into the cheese mixture is key—don't overmix! This keeps the filling light and fluffy rather than dense.
-
Finishing Touches:
Right before serving, add those additional Oreos, crushed, for garnish and a drizzle of Chocolate Syrup. It's the little things that make it feel special, yeah?
-
Serving Timing:
Patience is a virtue here; let them chill for at least 4 hours, or even overnight. This ensures the cheesecake is set and perfectly creamy when you dive in.
-
For a more intense Oreo flavor, use double-stuffed Oreos.
-
Let your cream cheese sit out for 30-60 minutes to avoid any lumps in the filling.
-
Chill the muffin tin while preparing the filling to help the crust set faster.
-
Be careful not to overwhip your cold heavy cream or it might turn into butter!
Pro Tips
Just take your time and enjoy the process, you've got this!
 Easy Weeknight Dinners
Thai Shrimp Wraps – Flavor-Packed Easy Dinner
Crispy, aromatic shrimp wrapped in lettuce, perfect for a quick, flavorful dinner.
Better For You Treats
Ways to Make it Your Own
Serving Suggestions
Frequently Asked Questions
→ Can I make these ahead of time?
Oh, absolutely! In fact, they're even better if you let them set overnight in the refrigerator.
→ My crust is crumbling, what happened?
Dang, that's a bummer. Just make sure you press the crumbs firmly into the liner and give them at least 15 minutes to chill before adding the filling.
→ Can I freeze these for later?
Yes, you can freeze them for up to 1 week. Just pop them in the fridge overnight to thaw before you serve them to your family.
Nutrition Facts
per serving
410
Calories
5g
Protein
32g
Carbs
28g
Fat
Taste Profile
A rich, creamy balance of sweet vanilla cheesecake and deep cocoa chocolate.
Ingredient Substitutions
Don't have an ingredient? Try these alternatives
Keep it chilled well as coconut oil can soften faster.
Will result in a smoother texture, though tastes slightly different.
Recipe Variations
Try these delicious twists on the original
Mint Chocolate Oreo Cheesecake Cups
Add ½ teaspoon of peppermint extract to the cream cheese mixture and sprinkle with crushed Andes mints for a refreshing twist.
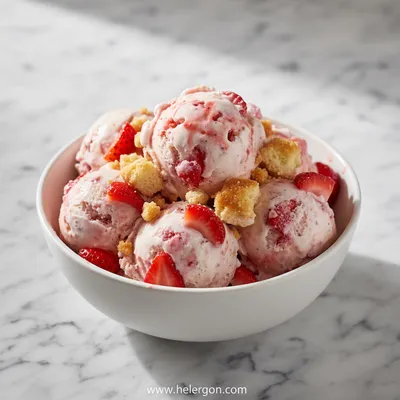
Strawberry Oreo Cheesecake Cups
Swirl a bit of strawberry puree into the cheesecake filling and top with sliced fresh strawberries for a fruity contrast.
Common Mistakes to Avoid
Learn from others' mistakes for perfect results
- Using cold cream cheese which causes lumps in the filling.
- Overwhipping the heavy cream until it becomes grainy or buttery.
- Not pressing the crust firmly enough, causing it to crumble upon serving.
Meal Prep & Storage
Make Ahead Tips
These are actually meant to be made ahead! They need at least 4 hours to set, but making them overnight is the way to go.
Leftover Ideas
Store any remaining cups in the refrigerator or freeze them for up to a week. If frozen, thaw in the fridge overnight.
Perfect Pairings
Serve this with...
Cooking Timeline
Mix Oreo crumbs and melted butter.
Press mixture into muffin liners and chill.
Beat cream cheese and sugar, then whip the heavy cream.
Fold ingredients together and fill the cups.
Refrigerate until completely set.
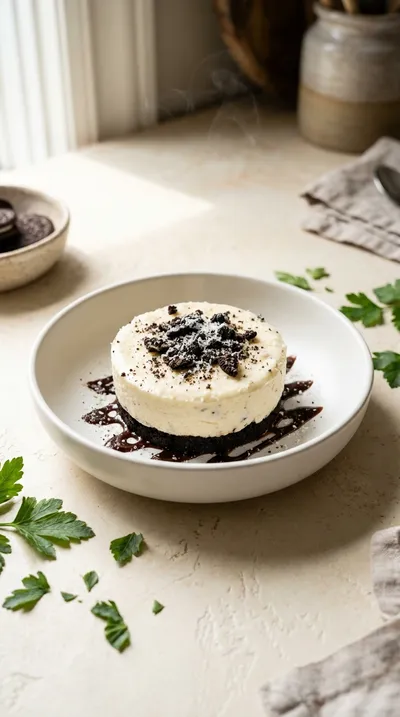
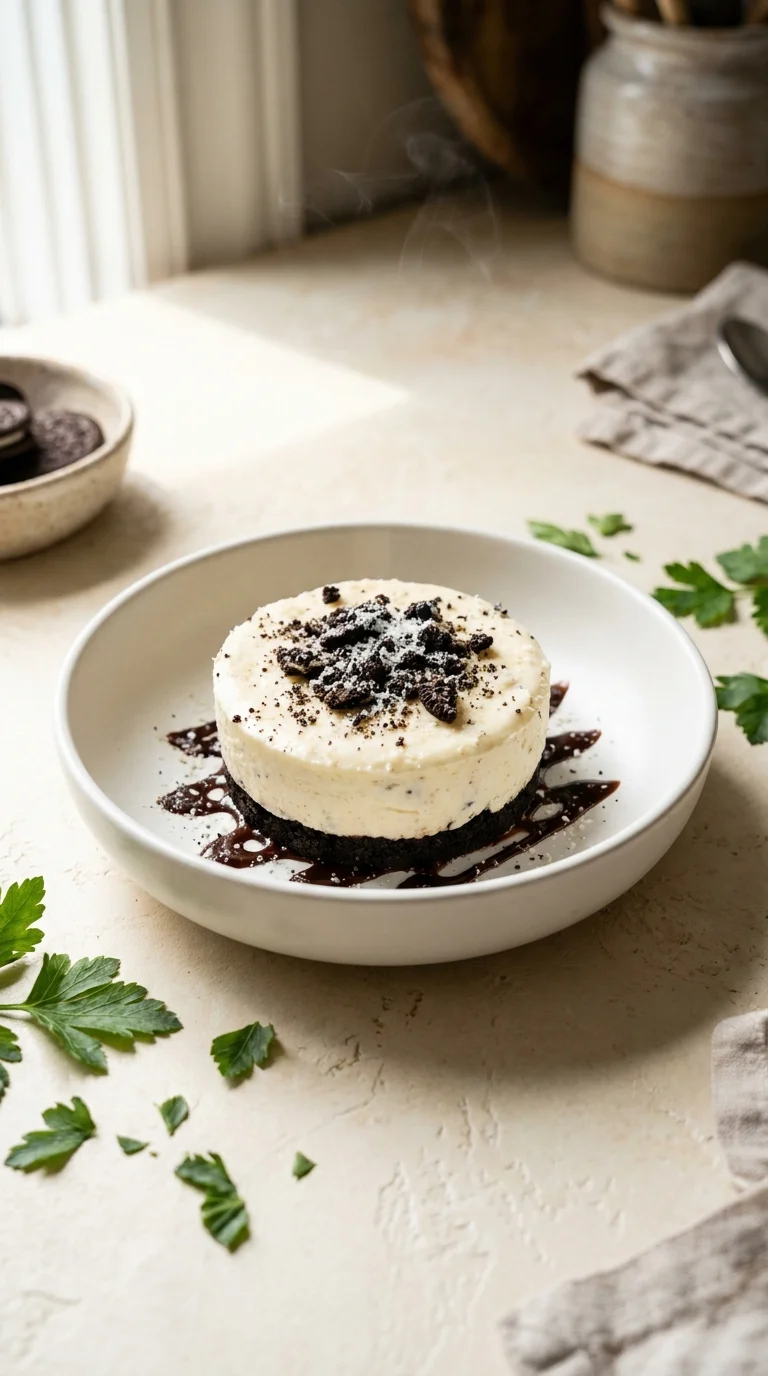
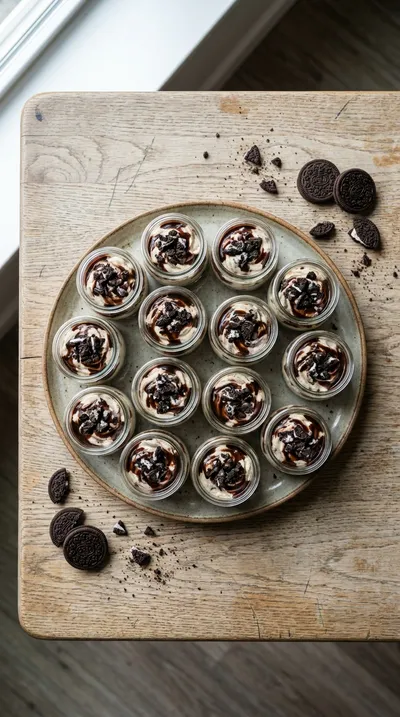
Oreo No-Bake Cheesecake Cups
These oreo no-bake cheesecake cups bring together a buttery chocolate crunch and a cloud-like cream filling. It's a gentle, sweet treat that feels like a little piece of luxury in every bite.
Timing
Prep Time
20 Minutes
Cook Time
0 Minutes
Total Time
20 Minutes
Recipe Details
Ingredients
The Crust
-
01
1 ½ cups (180g) Oreo cookie crumbs (about 36 Oreos, crushed)
-
02
6 tablespoons (85g) unsalted butter, melted
Cheesecake Filling
-
01
8 ounces (226g) cream cheese, softened to room temperature
-
02
1 cup (200g) granulated sugar
-
03
1 teaspoon vanilla extract
-
04
1 cup (240ml) heavy cream, cold
Optional Garnishes
-
01
Additional Oreos, crushed, for garnish (optional)
-
02
Chocolate Syrup, for drizzling (optional)
Instructions
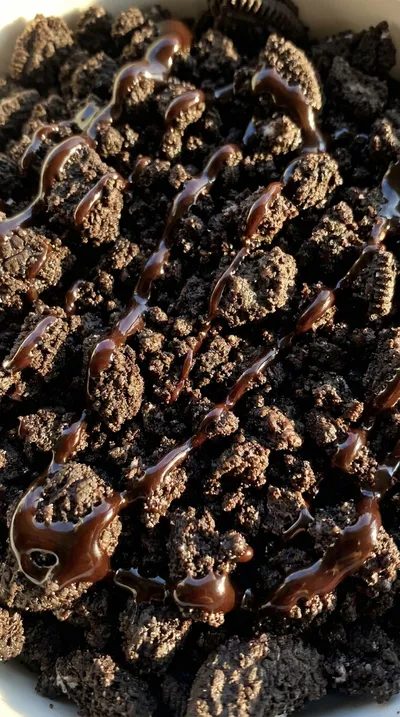
Let's start with the base. In a medium bowl, stir together your 1 ½ cups (180g) Oreo cookie crumbs and those 6 tablespoons (85g) unsalted butter, melted. Just mix it well until the crumbs are all evenly moistened—it should look like wet sand, honestly.
Now, take your muffin tin and line it with 12 muffin liners. Press about 2-3 tablespoons of that Oreo crumb mixture firmly into the bottom of each liner. Give it a good press so the crust stays put, yeah?
Pop that muffin tin into the refrigerator for at least 15 minutes. We just need to let those crusts set properly before we add the creamy part.
Grab a large mixing bowl and beat your 8 ounces (226g) cream cheese, softened to room temperature, with an electric mixer. Go until it's completely smooth and creamy—ugh, nobody likes lumps in their cheesecake!
Gradually beat in the 1 cup (200g) granulated sugar until it's all well combined, then stir in that 1 teaspoon vanilla extract for a little warmth.
In a separate, chilled bowl, beat the 1 cup (240ml) heavy cream, cold, until you see stiff peaks forming. Just be careful here, look, don't overwhip it or you'll have a mess.
Now we combine. Gently fold the whipped cream into the cream cheese mixture in three additions. Do it slowly until it's just combined; we don't want to overmix and lose that air.
Take your tin out of the fridge and spoon that lovely cheesecake filling evenly into each of those Oreo crust-lined muffin liners.
Cover the tin with plastic wrap and let them chill in the refrigerator for at least 4 hours. Honestly, overnight is even better if you have the patience, just to let them set completely.
Right before you serve, feel free to garnish with additional Oreos, crushed, and a little drizzle of Chocolate Syrup if you're feeling fancy.
Notes & Tips
-
1
Ensure the cream cheese is truly softened to room temperature to keep the filling smooth.
-
2
Chilling the muffin tin while preparing the filling helps the crust set faster.
-
3
Folding the whipped cream in three separate additions prevents the mixture from deflating.

Tools You'll Need
-
9-inch pie plate or food processor for crushing cookies
-
Medium and large mixing bowls for different stages
-
Electric mixer, either handheld or a stand mixer
-
Rubber spatula for gentle folding
-
12 muffin liners to keep the cups clean
-
Muffin tin for stability
Must-Know Tips
-
Room Temperature Cheese, Letting the cream cheese sit out for 30-60 minutes avoids lumps.
-
Stiff Peaks, Be careful not to overwhip the heavy cream or it will turn to butter.
-
Firm Press, Press the crumbs down firmly to ensure the crust doesn't crumble when eating.
Professional Secrets
-
Use double-stuffed Oreos for a much more intense chocolatey flavor profile.
-
Keep the heavy cream and the mixing bowl chilled to achieve the most stable stiff peaks.
-
The overnight chill is the secret to a professional, clean-cutting texture.

Get Delicious Recipes Weekly
Join 25,000+ home cooks getting our best recipes straight to their inbox.
Free forever • No spam • Unsubscribe anytime