
Vanilla ice cream traces its roots to early European confectionery, where cooks discovered that freezing a sweetened dairy mixture could create a refreshing dessert for aristocratic banquets. The technique spread worldwide, adapting to local tastes and ingredients, eventually becoming a staple of home kitchens across continents. Its enduring popularity lies in the timeless combination of cream, sugar, and fragrant vanilla, offering a smooth texture that feels both luxurious and comforting.
Why You'll Love It
-
- No‑cook, no‑heat method saves time
-
- Only four basic ingredients needed
-
- Silky texture that rivals store‑bought
-
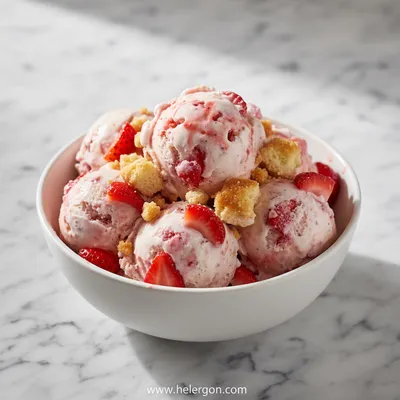
- Perfect base for endless toppings
"This vanilla ice cream reminded me of childhood summers—so simple yet so indulgent."
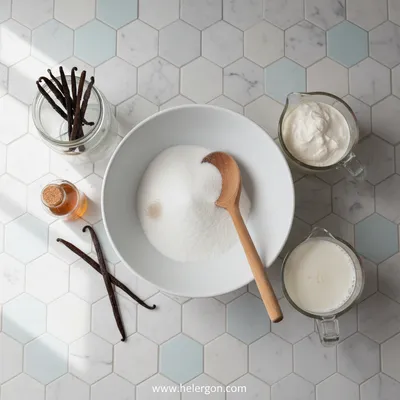
Essential Ingredient Guide
- Heavy cream: Choose a cream with at least 35% milkfat for richness; it creates that luxurious mouthfeel.
- Whole milk: Balances the cream’s richness and helps the mixture freeze smoothly.
- Granulated sugar: Dissolves easily in the cold mixture; use fine sugar for a finer texture.
- Vanilla bean or extract: A pure vanilla bean adds specks of aroma; extract works well for a consistent flavor.
- Ice and salt (for ice‑bath): Creates the rapid chill needed to set the base without a freezer blast.
- Optional pinch of salt: Enhances the sweetness and depth of the vanilla.
Complete Cooking Process
-
Ingredient Readiness:
Measure and chill all ingredients; the cream and milk should be cold to speed up freezing.
-
Flavor Development:
Whisk vanilla with sugar until fragrant, allowing the flavors to bloom before chilling.
-
Texture Control:
Slowly incorporate the dairy while continuously stirring over an ice‑bath to prevent ice crystals.
-
Finishing Touches:
Transfer the mixture to a shallow container, cover, and let it set in the freezer, stirring occasionally.
-
Serving Timing:
Let the ice cream sit at room temperature for a few minutes before scooping for a smooth bite.
-
Use a metal bowl for the ice‑bath; it conducts cold better.
-
Stir gently but consistently to keep crystals tiny.
-
If you prefer a richer mouthfeel, replace half the milk with cream.
-
Add a dash of bourbon‑free vanilla extract for extra depth.
Pro Tips
When you practice this method a few times, you’ll notice the quiet rhythm of stirring becomes a calming ritual. I often find myself pausing, watching the mixture thicken, and feeling grateful for the simple pleasure of homemade ice cream. It’s a gentle reminder that the best desserts often require the least fuss.

The essence of the dish:
The magic lies in the balance of creamy dairy and sweet vanilla, creating a silky, melt‑in‑your‑mouth texture that feels both light and indulgent.
A fun fact or historical angle:
Did you know the first recorded frozen dessert was an icy sorbet served in the courts of the Persian Empire, long before vanilla was added?
Flavor or sensory focus:
You’ll first notice the gentle perfume of vanilla, followed by a cool, creamy mouthfeel that lingers sweetly on the palate.
You Must Know
-
Keep the mixture moving while it chills
-
Use cold ingredients for faster setting
-
Stir in the final minutes for extra smoothness
Frequently Asked Questions
→ Can I use low‑fat milk?
You can, but the texture will be less rich and may develop larger ice crystals.
→ How long should I stir during the ice‑bath?
Stir continuously for about 8–10 minutes until the mixture thickens and feels cold to the touch.
→ Do I need an ice‑cream maker?
No, this recipe is designed for a no‑cook method using an ice‑bath and a freezer.
→ Can I add mix‑ins like chocolate chips?
Yes, fold them in after the base has set but before the final freeze.
→ Is this recipe suitable for vegans?
Swap heavy cream for coconut cream and whole milk for almond milk; the texture will be slightly different but still delicious.
→ What’s the best way to store leftovers?
Keep the ice cream in an airtight container in the freezer; let it sit a few minutes before serving to soften.
Nutrition Facts
per serving
210
Calories
3g
Protein
18g
Carbs
15g
Fat
Taste Profile
Classic sweet vanilla with a smooth, buttery finish
Ingredient Substitutions
Don't have an ingredient? Try these alternatives
Provides a dairy‑free richness; may add a subtle coconut flavor.
Use 1/3 cup maple syrup; reduces crystallization slightly.
Recipe Variations
Try these delicious twists on the original
Spicy Version
Add a pinch of ground cinnamon and a drizzle of honey for a warm, comforting twist.
Mediterranean Style
Fold in toasted pistachios and a sprinkle of orange zest for a bright, nutty flavor.
Common Mistakes to Avoid
Learn from others' mistakes for perfect results
- Skipping the ice‑bath; the mixture may form large ice crystals.
- Stirring too aggressively; can incorporate air and make it icy.
- Adding mix‑ins too early; they can freeze into hard bits.
Meal Prep & Storage
Make Ahead Tips
You can whisk the base and chill it overnight; just give it a good stir before freezing the next day.
Leftover Ideas
Re‑stir any hardened ice cream with a tablespoon of milk to restore creaminess before serving.
Perfect Pairings
Serve this with...
Cooking Timeline
Gather and measure all ingredients; prepare ice‑bath.
Whisk sugar, vanilla, and salt; slowly add cream and milk; stir over ice‑bath.
Transfer to pan, freeze, and stir every 30 minutes.
Continue intermittent stirring until texture is creamy; add optional mix‑ins.
Final freeze until set; allow brief sit before serving.
 Sweet Bakes & Desserts
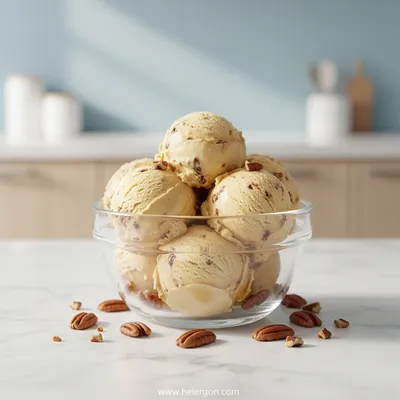
Butter Pecan Ice Cream Recipe
Creamy homemade butter pecan ice cream with crunchy pecans and a buttery finish.
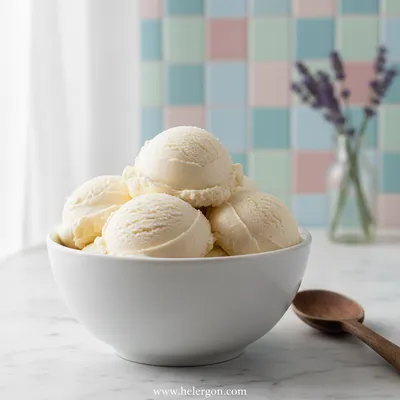
Vanilla Ice Cream: No‑Cook Homemade Recipe
A simple, no‑cook vanilla ice cream that comes together in minutes, using just cream, milk, sugar, and vanilla for a silky, sweet treat any time of day.
Timing
Prep Time
10 Minutes
Cook Time
0 Minutes
Total Time
2 Hours (including freezing)
Recipe Details
Ingredients
Base
-
01
2 cups heavy cream
-
02
1 cup whole milk
-
03
1/2 cup granulated sugar
-
04
1 tablespoon pure vanilla extract (or seeds of 1 vanilla bean)
-
05
Pinch of salt
Optional Mix‑Ins
-
01
Chocolate chips, toasted nuts, or fresh berries (add after freezing)
Instructions
In a large metal bowl, whisk together sugar, vanilla, and a pinch of salt until the sugar starts to dissolve.
Slowly pour in the cold heavy cream and whole milk, whisking gently to combine.
Set the bowl in a larger basin filled with ice and a handful of salt; stir continuously for about 8‑10 minutes until the mixture feels thick and cold.
Transfer the chilled mixture to a shallow metal pan, cover, and place in the freezer. Every 30 minutes, stir the edges with a fork to break any forming ice crystals. Continue for 1‑1.5 hours until creamy.
If using mix‑ins, fold them in now, then freeze for an additional 30 minutes to set fully.
Notes & Tips
-
1
For an ultra‑smooth texture, strain the mixture through a fine mesh before chilling.
-
2
If the ice cream is too hard after freezing, let it sit at room temperature for 5‑7 minutes before scooping.
-
3
Taste the base before freezing; adjust sweetness or vanilla intensity as desired.
Tools You'll Need
-
Large metal mixing bowl
-
Whisk
-
Ice‑bath basin
-
Spatula
-
Shallow metal pan
-
Freezer-safe cover
Must-Know Tips
-
Don’t rush the ice‑bath; steady stirring creates a smoother texture.
-
Keep the bowl and ingredients cold for faster setting.
-
Taste and adjust flavor before the final freeze.
Professional Secrets
-
Use a metal bowl for rapid chilling, which yields smaller ice crystals.
-
Stirring in a circular motion distributes cold evenly.
-
Cover the pan tightly to prevent freezer burn.

Get Delicious Recipes Weekly
Join 25,000+ home cooks getting our best recipes straight to their inbox.
Free forever • No spam • Unsubscribe anytime